Hexo+github pages部署个人博客
Hexo+github pages部署个人博客
参考:
step1. 安装Node.js和npm
-
访问 Node.js 官网 下载Node.js
-
安装完成后,可以在命令行中输入以下命令来验证安装
1 | node -v |
step2. Hexo的安装与初始化
安装
1 | npm install -g hexo-cli |
初始化
1 | cd BlogRoot |
安装依赖
1 | npm install |
在本地运行Hexo服务器
1 | hexo server |
step3. 部署到github pages上
-
创建一个github仓库,名称必须为
<username>.github.io -
创建ssh密钥,一路回车
1
ssh-keygen -t ed25519 -C "your_email@example.com"
在users/username/.ssh中可以看到生成的密钥文件,其中以
.pub为结尾的是公钥。在github的settings > SSH and GPG keys的SSH keys中点击New SSH key,复制公钥并添加。检测是否能与github正常通信:
1
ssh -T git@github.com
-
在
BlogRoot/_config.yml中设置deploy选项1
2
3
4deploy:
type: git
repository: git@github.com:<repository git>
branch: main- 部署
1
hexo clean && hexo generate && hexo deploy
step4. 基于butterfly设置blog样式
butterfly 安装
-
在
BlogRoot目录下下载butterfly1
git clone -b master https://github.com/jerryc127/hexo-theme-butterfly.git themes/butterfly
-
安装主题
1
npm i hexo-theme-butterfly
-
安装hexo渲染插件
1
npm install hexo-renderer-pug hexo-renderer-stylus
-
在
_config.yml中将theme的值更改为butterfly1
theme: butterfly
butterfly设置
-
标签页
1
hexo new page tags
该指令会在
BlogRoot/source下生成一个含有index.md文件的tags文件夹。进入index.md并添加type: "tags"。1
2
3
4
5
title: tags
date: 2022-10-28 12:00:00
type: "tags" -
404页面
将false改为true
1
2
3
4
5# A simple 404 page
error_404:
enable: false
subtitle: 'Page Not Found'
background: https://i.loli.net/2020/05/19/aKOcLiyPl2JQdFD.png
butterfly主题设置
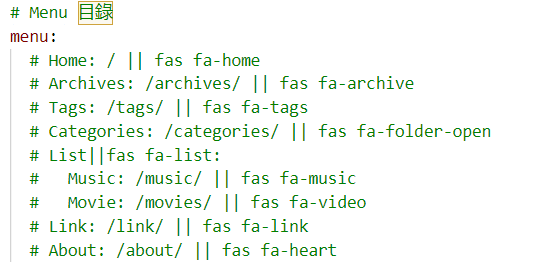
menu
在这里可以修改menu界面,冒号前为显示的名称,冒号后为文件夹名称,注意要通过hexo new page <文件夹名称>来创建文件夹
代码风格

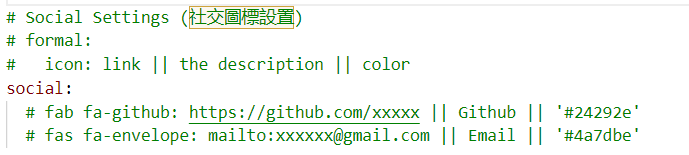
社交信息
可以放一些github和email之类的
网站图标


将图片添加至BlogRoot/themes/butterfly/source/img,并修改图片地址
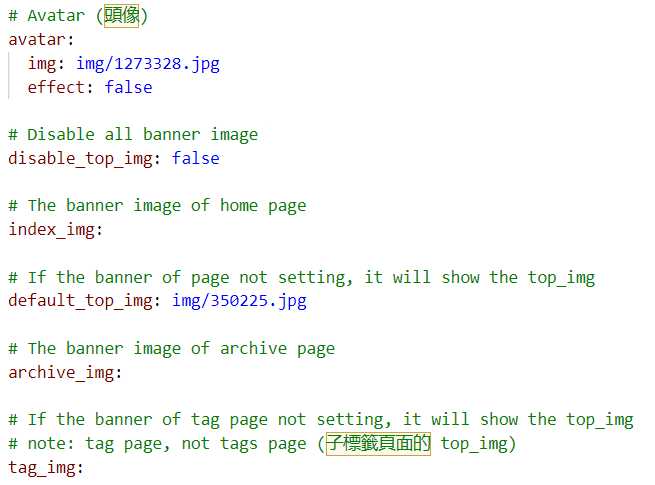
头像、横幅、页面图标
搜索栏
1 | npm install hexo-generator-search --save |
在BlogRoot/_config.yml中添加:
1 | search: |
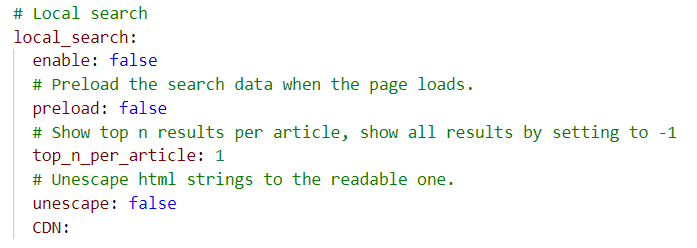
将enable和preload改为true
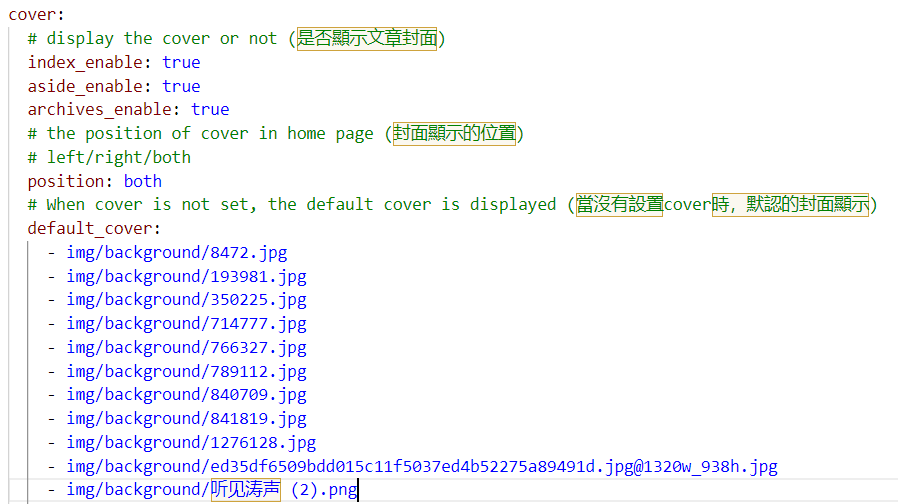
cover
文章封面,需要在文章开头的yml中添加cover才会生效,但个设置多个default_cover时,会选一个展示
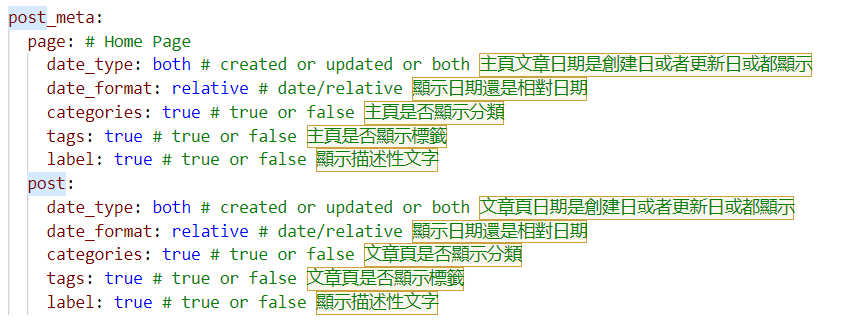
post
如何显示时间,是否显示标签等
wordcount
安装插件
1 | npm install hexo-wordcount --save |
将wordcount的enable改为true:
1 | wordcount: |
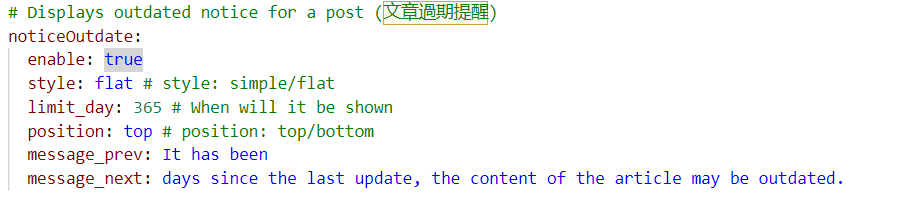
文章过期提醒
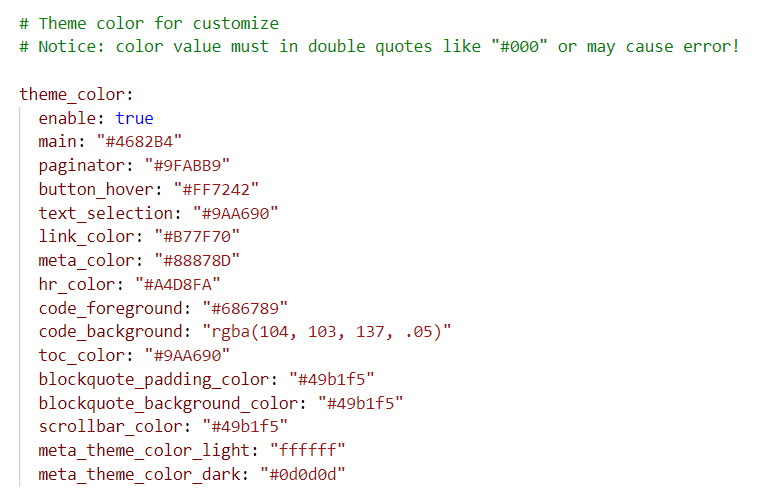
自定义颜色
background
当使用本地图片时,填img开始的相对路径,注意img前要加斜杠

侧边栏相关配置

pandoc 与 mathjax
将mathjax设置为true在需要渲染的blog前加入mathjax: true
1 | # MathJax |